
Introdução
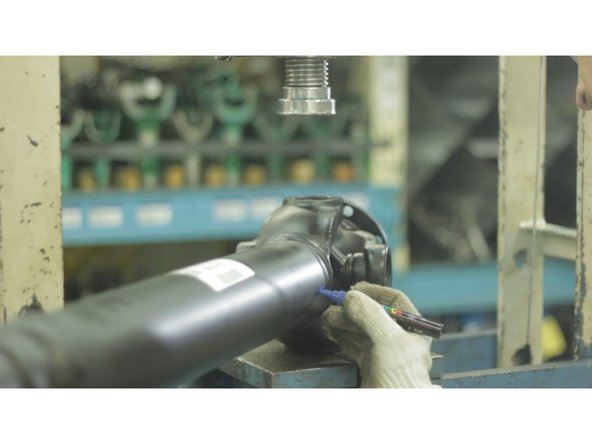
Trocar uma cruzeta Spicer Série 10 é bem simples, e envolve 3 atividades: retirar a cruzeta antiga e analisar a cruzeta e o cardan; instalar a cruzeta nova, avaliando novamente o conjunto do cardan e por fim, lubrificar.
-
-
Utilize um alicate extrator para remover os anéis trava das capas;
-
Utilizando uma prensa, pressione as capas até que o corpo da cruzeta encoste na parte interna do olhal. Atenção ao nivelamento e alinhamento da prensa para não prejudicar a luva, flange ou terminal, utilize um apoio que permita a passagem da capa;
-
As vedações da capa podem impedir que elas se soltem facilmente, após a prensagem, utilize um alicate para removê-las;
-
Repita a operação do lado oposto;
-
Ao remover as capas, observe se contém todos os roletes, examine o corpo da cruzeta, se não há marcas ou desgaste excessivo. Esses sinais indicam outros problemas no Cardan, como desalinhamento ou falta de lubrificação.
-
-
-
Não reutilize as capas nem os anéis trava. O Kit Spicer fornece todos os acessórios necessários; Verifique se não há impurezas ou oxidações nos olhais de fixação das luvas, flanges ou terminais;
-
Remova as capas da cruzeta com cuidado para não desalinhar ou remover os roletes;
-
Posicione a cruzeta com a graxeira voltada para o tubo e as pontas da graxeira voltadas para as laterais, nunca para olhal; Posicione a capa no olhal de baixo de forma perpendicular, não utilize óleo ou graxa nos olhais;
-
• Com a capa pré-encaixada, utilize calços para pressionar as capas até que o canal esteja livre para a colocação do anel trava. Neste processo, assim como na desmontagem, é fundamental a atenção ao nivelamento e alinhamento do conjunto;
-
Antes de montar a capa do lado oposto, verifique se o anel trava está corretamente posicionado
-
Confira se a cruzeta se movimenta livremente e sem ruídos;
-
-
-
A SPICER RECOMENDA A ULTILIZAÇÃO DE GRAXA A BASE DE SABÃO DE LÍTIO COM ADITIVOS EP E GRAU DE CONSCISTÊNCIA NLGI 2.
-
ANTES DE REMOVER O CARDAN, FAÇA MARCAÇÕES PARA GARANTIR O ALINHAMENTO.
-
-
-
Sob quaisquer circunstâncias deve-se tentar qualquer conserto ou manutenção para o qual não foi treinado ou se não possui as ferramentas e equipamentos para o conserto.
-
Sempre use os óculos de segurança adequado quando fizer algum tipo de manutenção. Não usar os óculos de segurança pode resultar em ferimento e/ou perda parcial ou completa da visão.
-
Seja sempre cuidadoso ao trabalhar com produtos que tenham pontas afiadas.
-
A lubrificação inadequada ou o reaproveitamento das peças de acoplamento ou parafusos podem causar a falha do cardan ou até a separação do cardan do veículo. Um cardan separado do veículo pode causar acidente e até mesmo mortes. Não arrisque com a segurança.
-
-
-
Parte importante do trabalho e da própria operação da sua oficina é o descarte correto dos produtos que serão substituídos. Faça a sua parte e juntos contribuímos para um futuro sustentável.
-
Saiba mais em http://www.spicer.com.br/danatureza
-


Depois de instalada a cruzeta no cardan, siga os procedimentos de lubrificação conforme o guia específico para a série 10 disponível em 5-263XS | Lubrificação
Depois de instalada a cruzeta no cardan, siga os procedimentos de lubrificação conforme o guia específico para a série 10 disponível em 5-263XS | Lubrificação
