Introdução
Para todo bom serviço, sua segurança e saúde vem em primeiro lugar. Use os EPIs de segurança SEMPRE.. Siga os passo com cuidado e atenção.
Ferramentas
- Chave para porca do volante 24mm
- Chave Allen 6
- Chave Phillips Nº 2
- Chave de Fenda Nº 2
- Alicate de bico curvo
- Chave para parafuso passante do terminal da coluna na caixa de direção 14mm
- Chave para parafusos do suporte no painel 13mm
- Chave para parafuso sextavado que fixa a parte superior à inferior da coluna a ser substituída 17mm
- Prensa Hidráulica
- Tubo 26mm diametro, 36mm comprimento
- Tubo 50mm de diâmetro e 120mm de comprimento
Peças
-
-
Antes de iniciar a desmontagem, deixe as rodas e volante alinhados
-
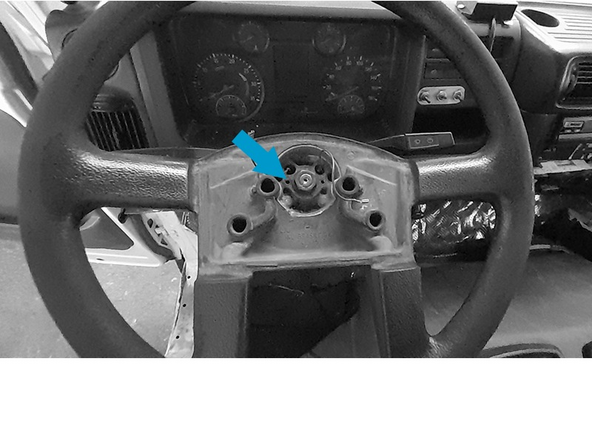
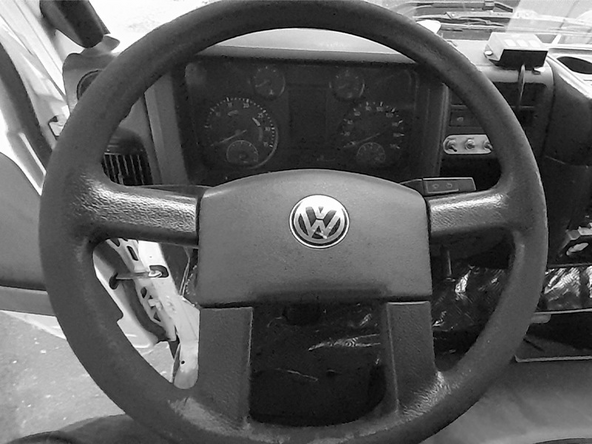
Retire a capa do botão da buzina e solte a porca de fixação do volante para que ele possa ser removido com o auxílio de um saca volante adequado.
-
-
-
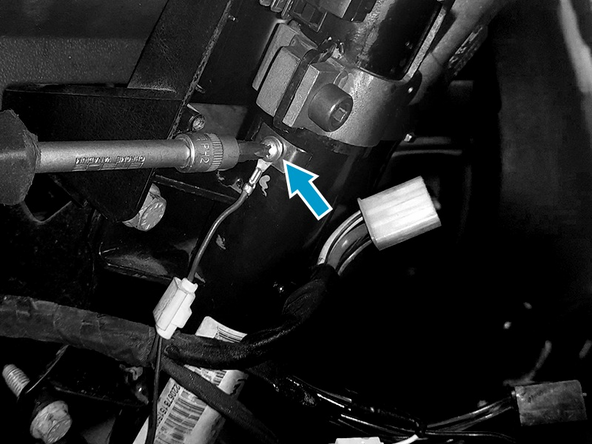
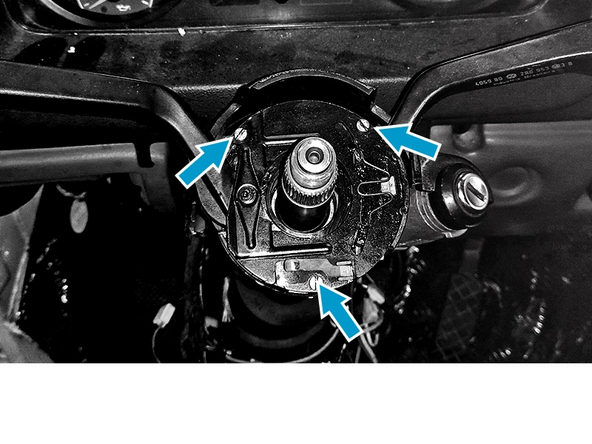
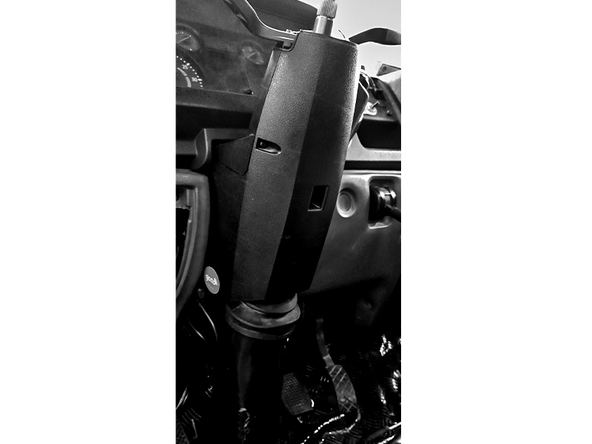
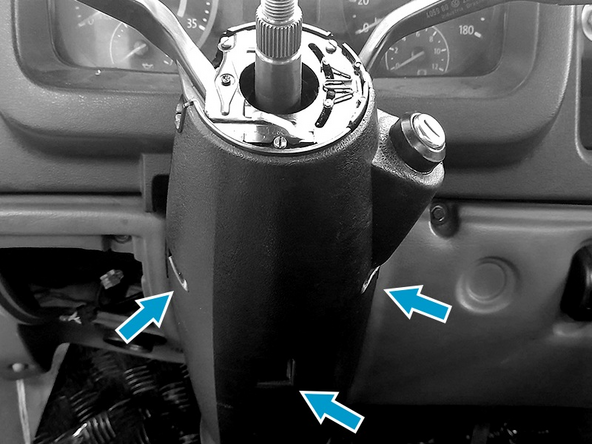
Retire a chave de seta e comando do limpador de pára-brisas removendo os três parafusos de fenda, retire também o fio de contato da buzina na lateral da coluna removendo o parafuso philips, mas volte a colocar o parafuso no lugar e em seguida retire o comutador de ignição com rolamento superior removendo o parafuso Allen 6
-
Retire também o fio de contato da buzina na lateral da coluna removendo o parafuso philips,
-
Volte a colocar o parafuso no lugar.
-
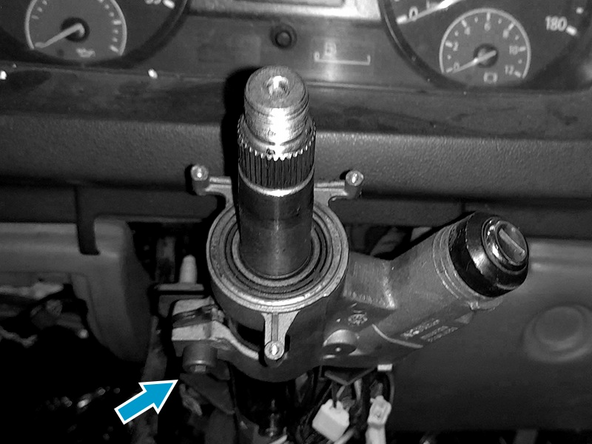
Retire o comutador de ignição com rolamento superior, removendo o parafuso Allen 6
-
-
-
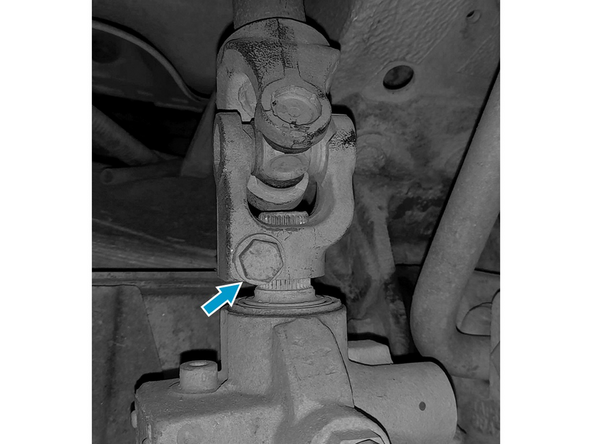
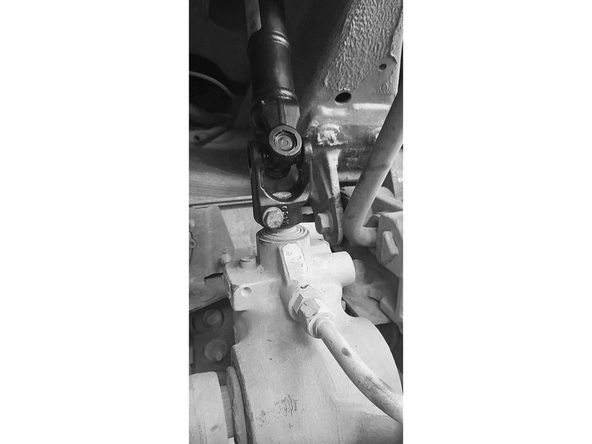
Retire o parafuso sextavado de fixação da coluna à caixa de direção.
-
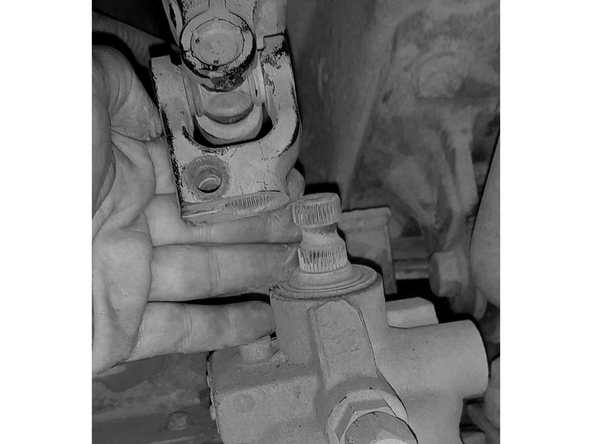
Deslize o conjunto para cima.
-
-
-
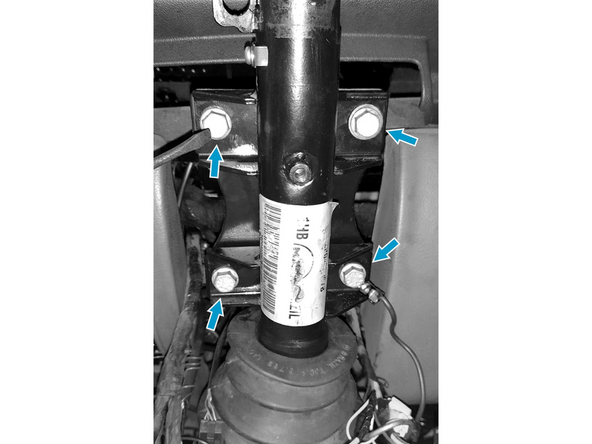
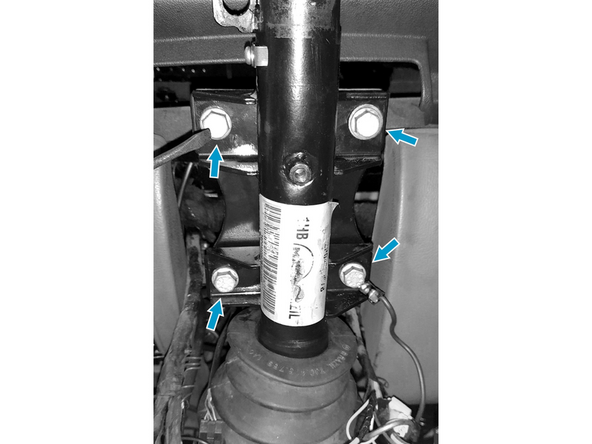
Retire os 4 parafusos que fixam o suporte da coluna de direção ao painel.
-
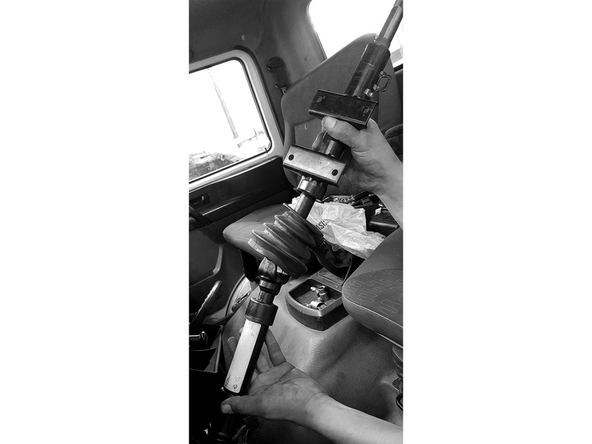
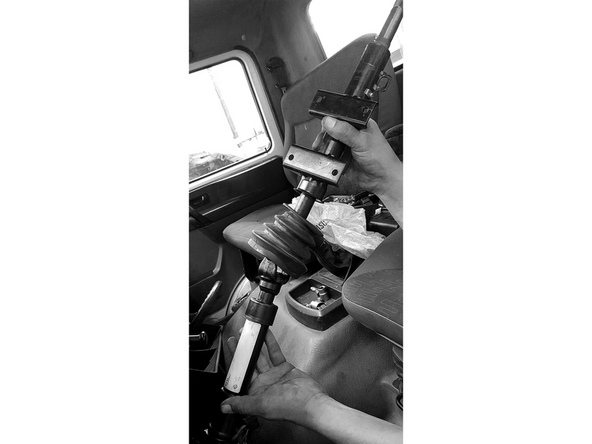
Remova o cojunto do veículo.
-
-
-
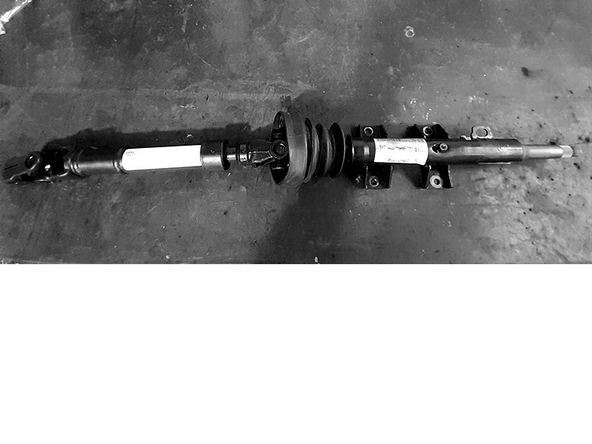
Leve o conjunto à uma bancada.
-
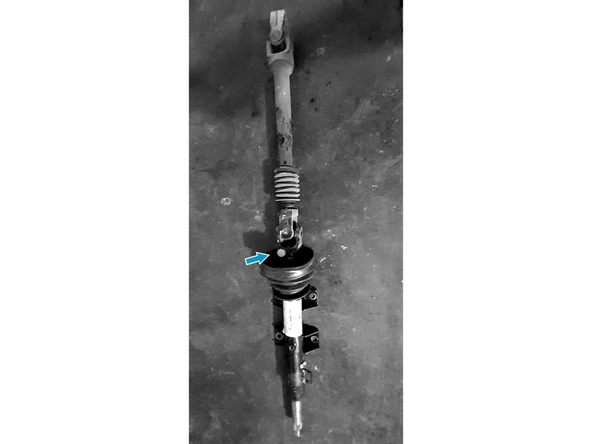
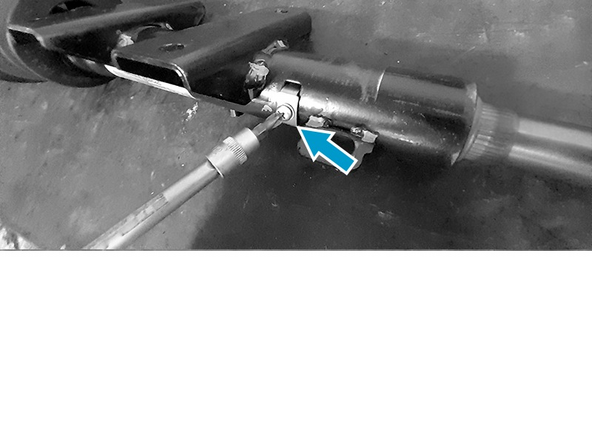
Retire o parafuso sextavado que fixa a parte superior da coluna à inferior.
-
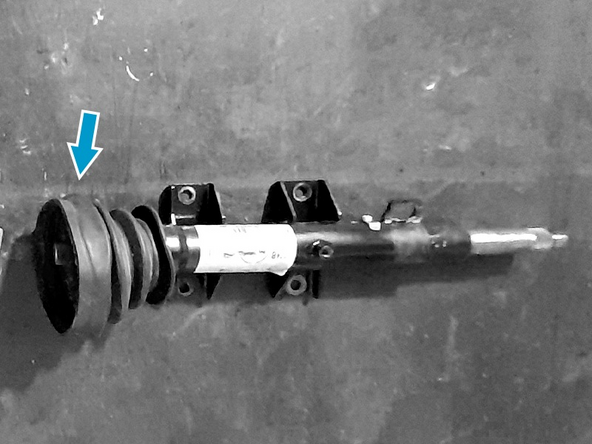
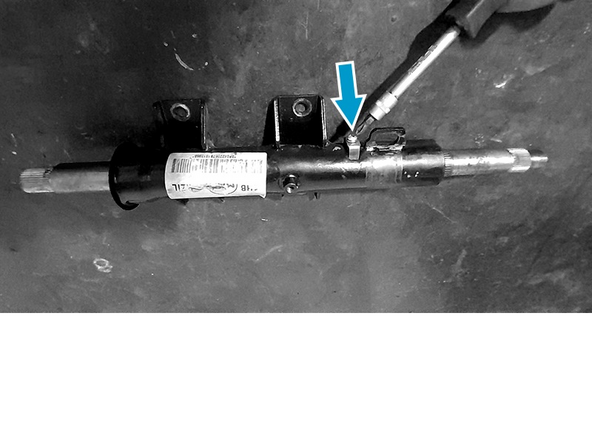
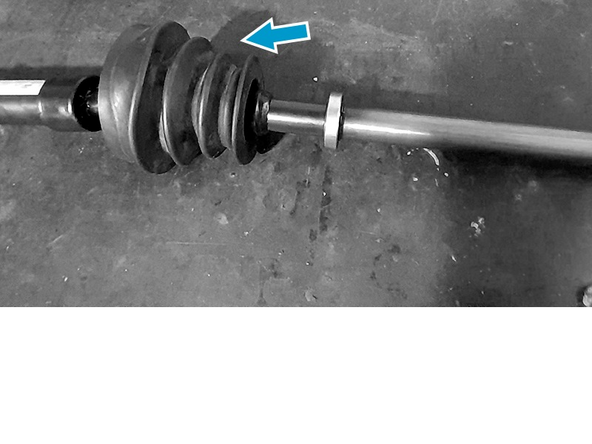
Retire o guarda-pó, o parafuso philips e o clipe de contato da buzina e leve o conjunto à uma prensa hidráulica
-
Retire o parafuso philips.
-
Retire o clipe de contato da buzina.
-
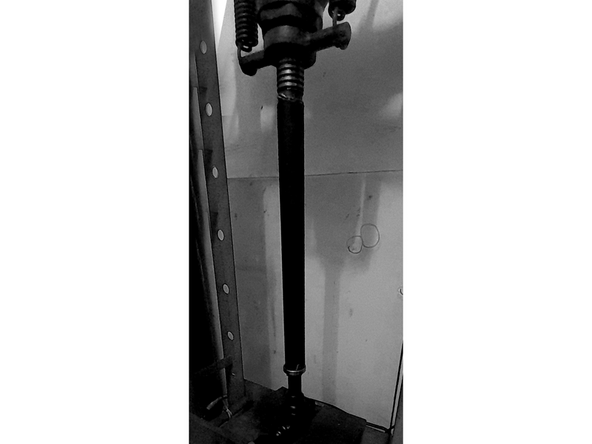
Leve o conjunto à uma prensa hidráulica.
-
-
-
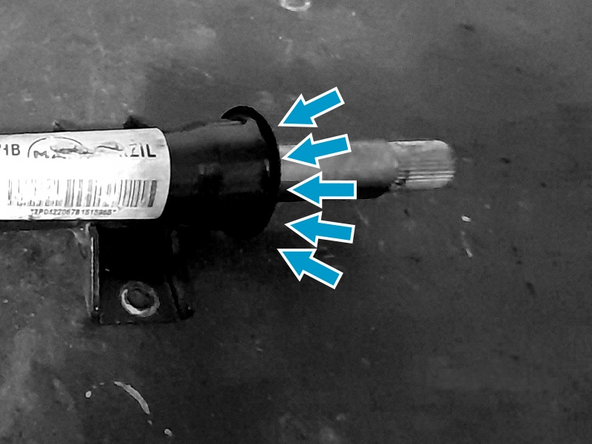
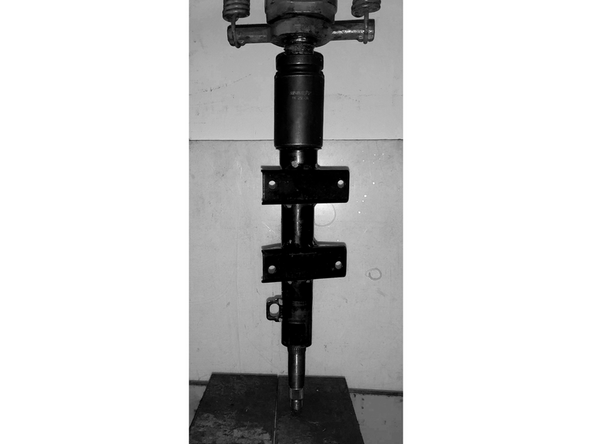
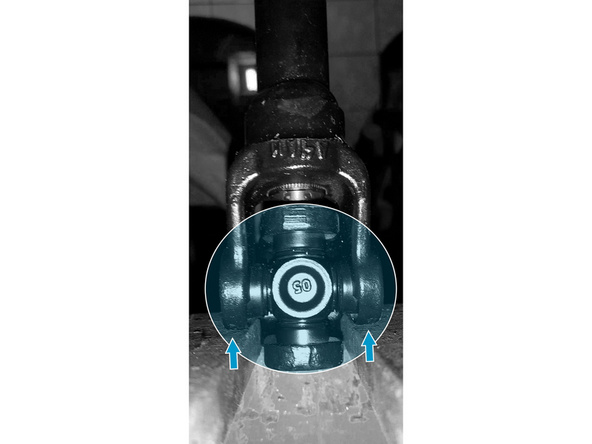
Utilize um dispositivo com aproximadamente 50mm de diâmetro e 120mm de comprimento para apoiar onde indicado pelas setas coloridas na figura.
-
Prense o suporte da coluna para baixo.
-
-
-
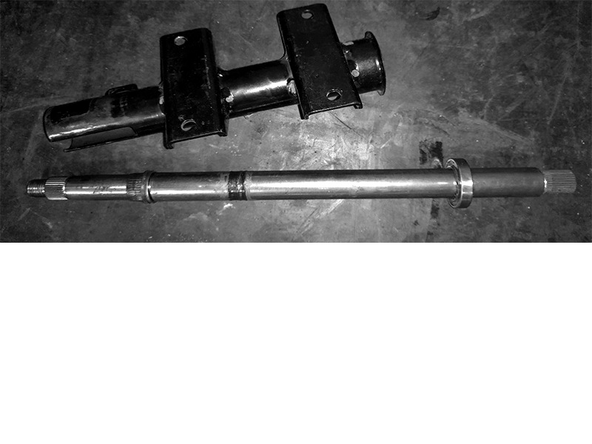
Leve novamente o conjunto à bancada.
-
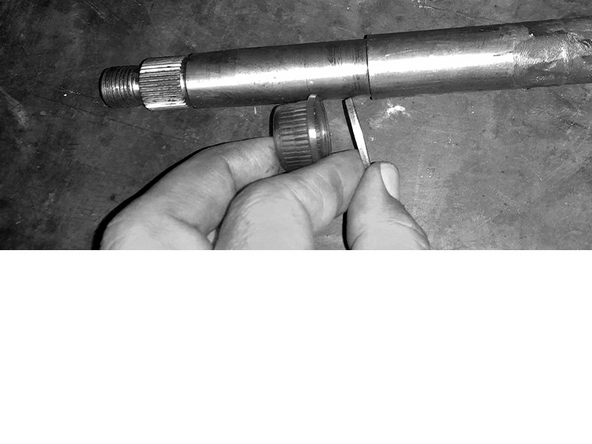
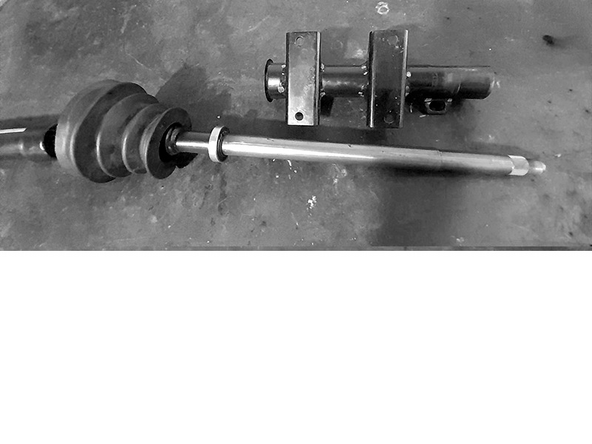
Remova o guia do rolamento superior e sua arruela de encosto.
-
-
-
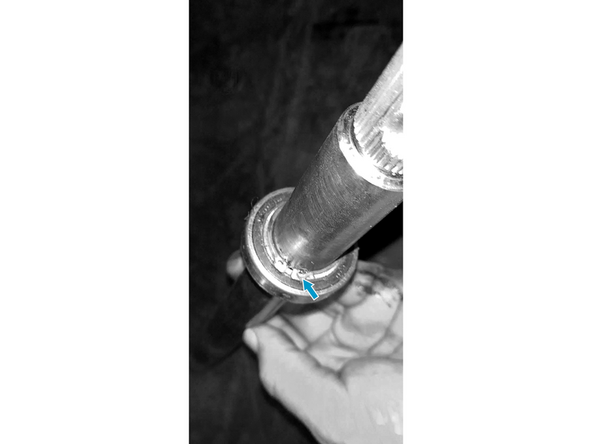
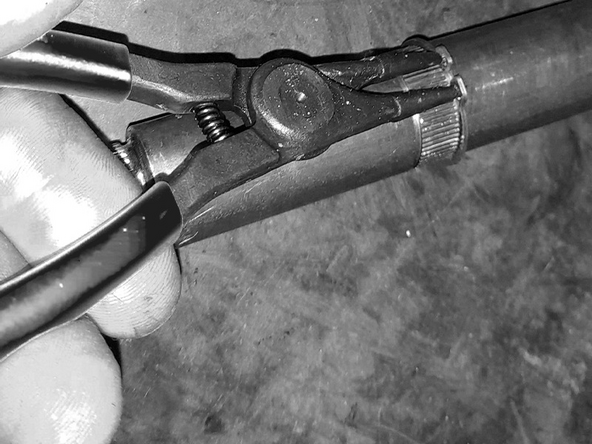
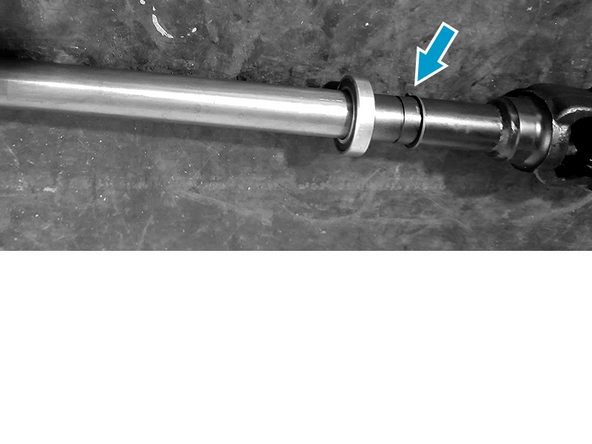
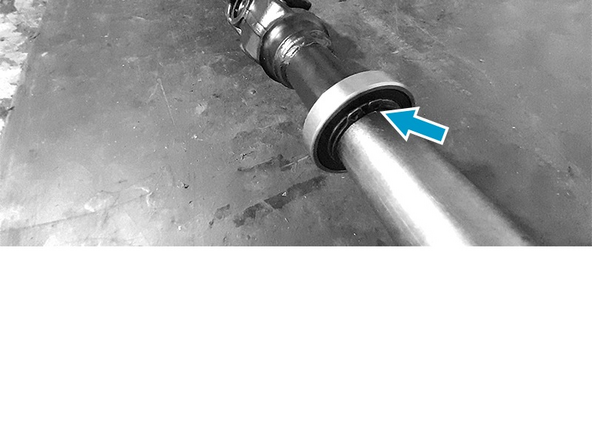
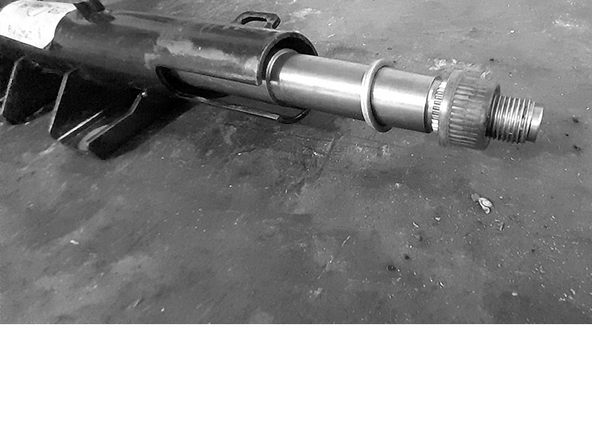
Remova a trava superior do rolamento e apoie seu anel interno na base da prensa para efetuar o sacamento.
-
Após sacar o rolamento retire também a trava inferior.
-
-
-
Examine o rolamento e as travas e se necessário faça a substituição.
-
Insira na nova coluna a trava inferior.
-
Manualmente encaixe o rolamento até próximo ao seu alojamento.
-
Leve ate uma prensa.
-
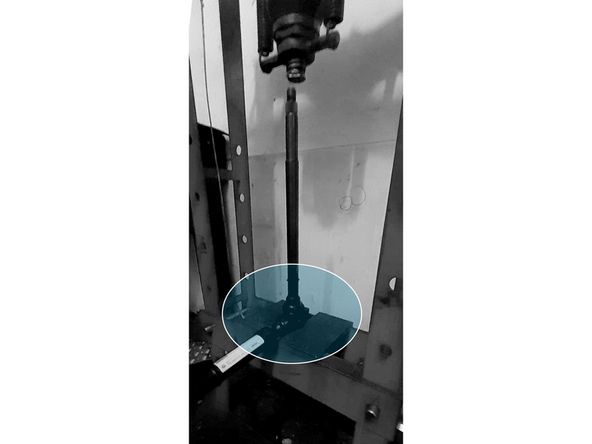
Posicione a coluna na prensa em forma de "L" e faça de modo que garfo da articulação apoie na base da prensa.
-
-
-
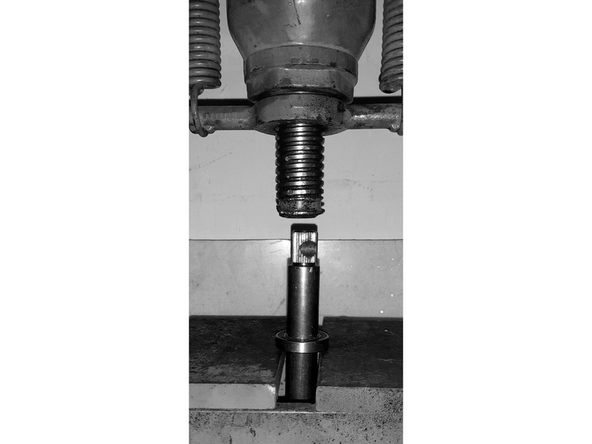
Utilize um dispositivo com aproximadamente 26mm de diâmetro e 350mm de comprimento para apoiar no anel interno do rolamento.
-
Faça a prensagem como ilustrado, até que o rolamento encostre levemente na trava inferior.
-
Depois encaixe a trava superior e o guarda-pó.
-
-
-
Monte o suporte na coluna de direção fazendo seu encaixe sobre o anel externo do rolamento.
-
Preferencialmente apoie o rolamento na base da prensa e no sentido contrário prense o suporte.
-
O rolamento penetra além da face do suporte e deve ser prensado até o batente.
-
-
-
Após a montagem do suporte na coluna, insira a arruela e o guia do rolamento superior e também o clipe de contato da buzina.
-
-
-
A instalação deve seguir os passos inversos da desmontagem:
-
Inicie encaixando o conjunto da coluna de direção no painel do veículo.
-
Instale os 4 parafusos de fixação.
-
-
-
Encaixe a articulação da coluna no eixo estriado de entrada da caixa de direção.
-
Torqueie o sextavado de fixação.
-
Cuidado: certifique-se de que as estrias da coluna de direção (terminal com 30 estrias) são compatíveis com as estrias da caixa de direção (ponteira com 36 estrias).
-
-
-
Instale o comutador de ignição com rolamento superior e torqueie o parafuso.
-
Ligue o fio de contato da buzina na lateral da coluna.
-
Reinstale a chave de seta e o comando do limpador de pára-brisas.
-
-
-
Reinstale os acabamentos plásticos da coluna de direção.
-
Reinstale o volante de direção e coloque a porca de fixação provisoriamente sem torquer.
-
-
-
Realize teste de rodagem.
-
Alinhe a posição do volante.
-
Finalize com o torque na porca central e colocação da capa do botão da buzina.
-
A coluna de direção é um item de segurança, por isso, deve se observar atentamente as recomendações e instruções de instalação afim de garantir a segurança da aplicação.
A substituição da coluna de direção e ou seus componentes, deve ser realizada sempre por um profissional habilitado com o auxílio de equipamentos adequados.
1. Verifique se todos os componentes do sistema de direçãoo permanecem originais do veículo:
• ALERTA: Qualquer alteração dos componentes comprometem a segurança do veículo!
2. A coluna de direção Spicer nao pode ser modificada, soldada, usinada, adaptada ou retrabalhada:
• ALERTA: Qualquer alteração da peça compromete a segurança do vefculo!


